Percutaneous fixation of the proximal femur is performed to stabilize the femoral head and prevent further slip of the epiphysis. The screw can stop further growth of the femoral neck if there are enough threads across the physis. Compression across the physis is not necessary to stop the growth. Smooth pins or threads placed only in the epiphysis allow continued growth while preventing further slipping of the epiphysis.
Implant Selection
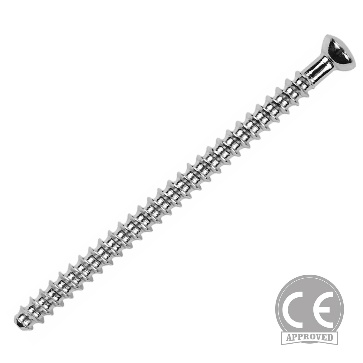
For stable slips, a single screw is ideal while unstable slip will benefit from two points of fixation to prevent rotation of the epiphysis around a single implant. Multiple implants increase the risk of unrecognized joint penetration, which can cause chondrolysis. Ideal implant for epiphysiodesis in a stable slip is a single, large (7.3 mm), fully threaded, cannulated, stainless steel screw. A similar screw with a 2.5 mm threaded pin as a second point of fixation is good for unstable slips.
Ideal Screw Placement
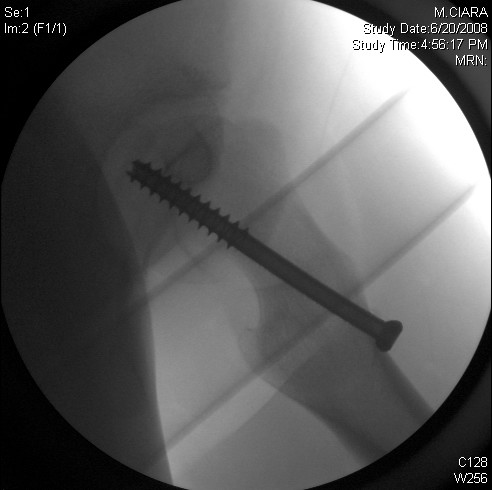
- Start in good cortical bone in the lateral femur above the level of the lesser trochanter
- End 2–3 mm from the subchondral bone at the center of the epiphysis
- The angle of the screw path to the physeal plane is not important
- Central placement of the tip allows more threads in the epiphysis for better fixation while decreasing the chance of unrecognized joint penetration
- Screw path closer to the posterior neck prevents posterior movement of the screw and better resists slip progression
- Starting the screw as lateral as possible allows stronger lateral fixation point even with femoral neck osteoplasty
Technique
- 1 Place the guide wire on the skin to mark the screw path on AP view — the same process on the lateral view is more difficult and less important — the intersection of the two lines is a good point to insert the guidewire
- 2 The starting point can be guessed based on the severity of the posterior slip and the pin placed on the lateral cortex — the pin insertion point in the skin can be changed as needed till the correct screw path is obtained prior to drilling into the bone
- 3 Advance the guidewire along the planned path towards the center of the epiphysis under AP and lateral fluoroscopy — avoid bending the guidewire by placing the hip in frog lateral position for the lateral view
- 4 If the guide wire deviates from center and redirection is difficult, pulling the wire back till it is in good position and reaming the tract with a cannulated drill bit allows redirection
- 5 After advancing the guidewire close to the subchondral bone, use approach-withdrawal technique to identify the closest point and lack of joint penetration
- 6 The screw length should go from a few mm of the subchondral bone to 5 mm proud from the lateral cortex — place a second guidewire in unstable slips prior to drilling and screw insertion